 | How to Play (Linux) Video Games in the Cloud2021 October 23rd |
A guide to running Linux games on an AWS EC2 instance and sharing it with your friends
The other day, I wanted to play the world's most complicated video game Dwarf Fortress with my friend. Only two problems:
- It's not a multi-player game
- My friend lives on the other side of the Pacific Ocean
If only we could virtually sit at the same computer and share the keyboard... Oh wait! We can! All I need is a cloud desktop!
Setting up a cloud desktop on AWS
What is a cloud desktop? It's a desktop-style operating system (ie with graphics) running in a cloud virtual computer instance (eg AWS EC2).
Cloud desktops are predicted to be the future of computing. While I am personally skeptical of that, there are clear benefits to using a virtual cloud instance (plus remot desktop connection) instead of a traditional desktop computer:
- The cloud provider has a much faster internet connection than your home (and probably faster than your office too)
- Pay a per-hour usage fee instead of buying the hardware (cheaper than owning if you don't use it every day)
- You can add or remove additional computers at any time
- You can share your computer with other people anywhere in the world
That last point is the most relevant one in this case. I'm going to create a cloud PC and then screenshare with both myself and my friend.
So how does one make a cloud desktop? After checking out some tutorials (here and here and here), here's what I came up with:
Step 1: Create an Ubuntu EC2 instance
Obviously, you will need an AWS account with billing setup. The virtual desktop is cheap (about 10 cents per hour of usage), but not free.
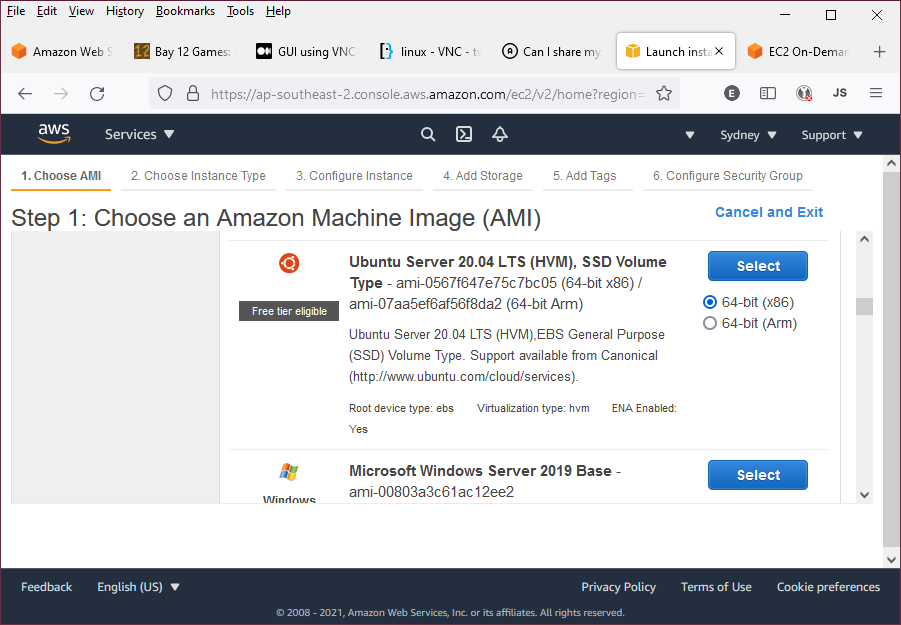
First, sign-in to the AWS Management Console and go to EC2 page. Then create a new EC2 instance. My sources tell me that it's best to use the Ubuntu LTS pre-configured EC2 instance. Normally I select the 64-bit Arm option because the Arm instances are a little cheaper, but because I want to run a video game, I need a 64-bit x86 processor.
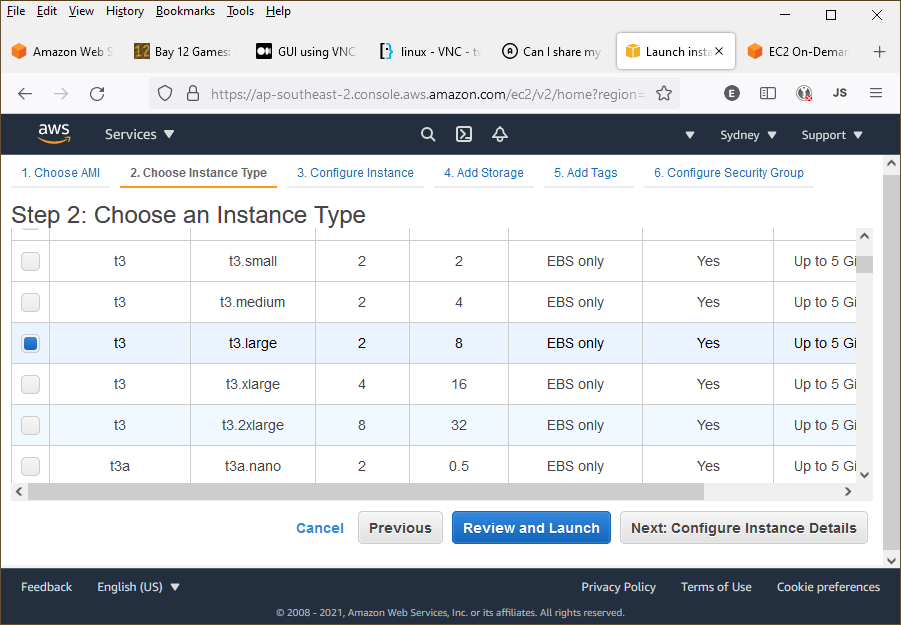
Next you need to pick the virtual PC "hardware". This is what determines the per-hour cost of using the virtual computer. Inconveniently, the prices are not listed next to the option, but are available here. I chose the *t3.large instance, which comes with 2 CPU cores and 8 GB of RAM, plus a Gigabit network connection, at a cost of about 8 US cents per hour of usage.
Besides un-ticking the checkbos for "Unlimited Credit", I leave everything else as default, download the SSH key, and then launch the instance.
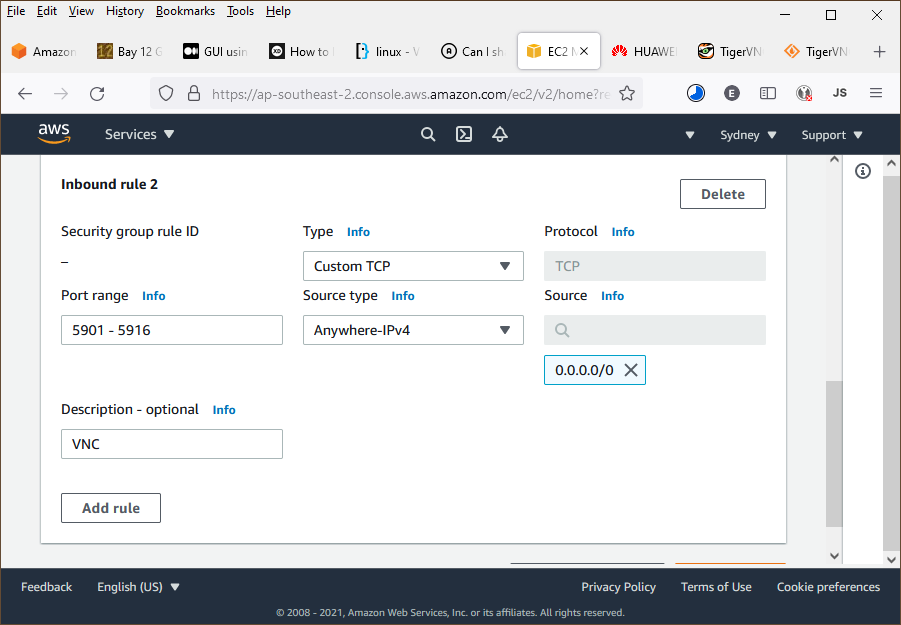
One more thing: You need to open the ports for VNC protocol by editing the EC2 instance's security rules:
And that's it for the AWS configuration side!
REMEMBER TO STOP YOUR INSTANCES WHEN YOU'RE NOT USING THEM OR IT WILL COST YOU MONEY
Step 2 (optional): Create a new user and delete the default user
After successfully connecting via SSH with the default user name (ubuntu), the first thing I do is create a new user and delete the old one, because I'm not a fan of the default username and it's sudo commands are not password protected.
sudo useradd -m myusernamesudo passwd myusernamesudo usermod --shell /bin/bash myusernamesudo usermod -aG sudo myusernamesudo mkdir -p /home/myusername/.sshsudo cp -av ~/.profile ~/.bash* /home/myusernamesudo cp -v ~/.ssh/* /home/myusername/.sshsudo chown -Rh myusername:myusername /home/myusername/sudo chmod 600 /home/myusername/.ssh/*sudo chmod 700 /home/myusername/.ssh
Then log out and log back in as myusername
sudo userdel -f ubuntusudo rm -rf /home/ubuntu
Great! Now I have a better username than "ubuntu". Just make sure you write down your username and password somewhere.
One more thing before moving on: You probably don't want to accidentally leave your instance running and accumulate a surprise cloud services bill. So just to be safe, I use crontab to make it issue the shutdown command every midnight:
sudo crontab -e### crontab contents #### m h dom mon dow command30 23 * * * shutdown -P +30
Step 3: Install the VNC server and then the Ubuntu graphical desktop
Time to add graphics! To do this, you need to install the Ubuntu graphical desktop (Gnome or Xfce) and the remote desktop control server (VNC). Note that I'm using TigerVNC, which does not support sound. For sound support over a VNC remote desktop connection, you will need to use RealVNC and pay for a subscription, which costs about $3.40 per month ($40/yr). It's well worth the price for regular usage, but not worth subscribing to just for Dwarf Fortress (which hardly uses sound at all).
Start with the folowing commands. Note that is is essential that you install tigervnc-standalone-server and reboot before installing any desktop managers (otherwise you will have a more difficult time getting the graphics to work):
sudo apt updatesudo apt upgrade -ysudo apt autoclean -y && sudo apt clean -y && sudo apt autoremove -ysudo apt install -y tigervnc-standalone-serversudo shutdown -r +0 # (this command will reboot the virtual computer)
Next, you need to run the vnc server setup command (do not run as sudo or root):
vncserver
When you run this command, you will be asked to create a password. Do not use your user password, because the VNC password is not as secure. Instead create a password just for VNC connections. Also, this password must be 6-8 characters (VNC server imposed limitation).
Now you can install the desktop manager:
sudo apt install --download-only -y xfce4 xfce4-goodiessudo apt install xfce4 xfce4-goodies #(requires user interaction, even with -y)# light-locker is optional and crashes in a VNC connection, so remove itsudo apt remove -y light-locker# install some desktop programssudo apt install -y firefox xtermsudo shutdown -r +0
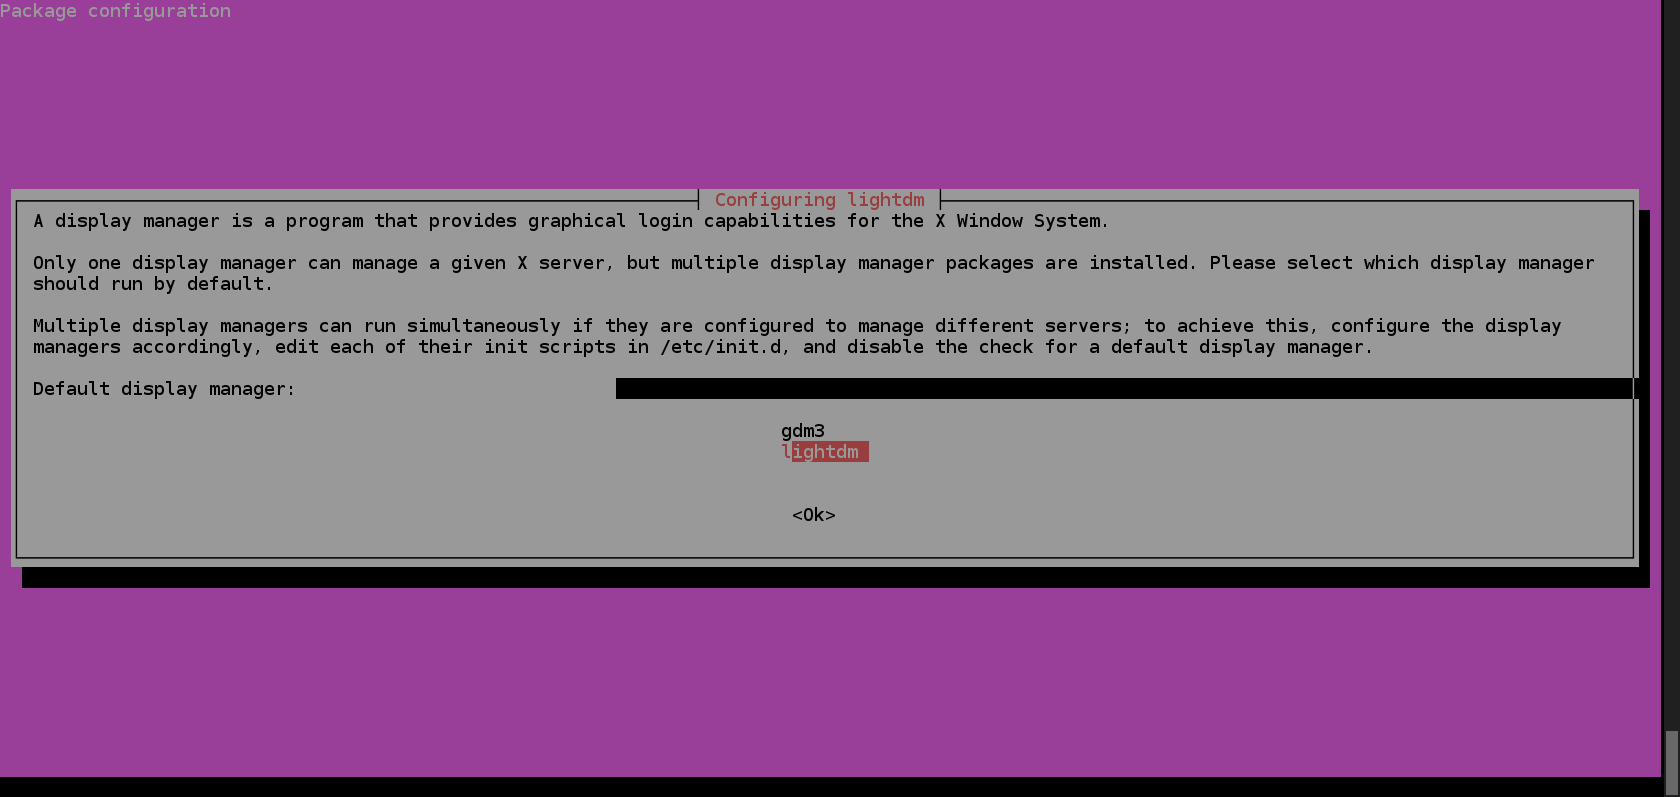
As the packages install, I was confronted with the following config screen:
I selected lightdm, since I know it is a little less sensitive to graphics driver bugs than gdm3 (buggy graphics drivers are the Achilles Heel of desktop Linux).
A short while later, the installation is finished.
Now it's installed and started, but the VNC server still needs to be configured to use the desktop, so I then kill it and create an xstartup file:
vncserver -kill :1vncserver -listtouch ~/.vnc/xstartupchmod 755 ~/.vnc/xstartupnano ~/.vnc/xstartup
Contents of ~/.vnc/xstartup:
#!/bin/bashstartxfce4
Note that other tutorials will tell you to add xrdp or put an ampersand & after startxfce4. This is wrong. I have not installed xrdp and the xstartup script must not terminate, so the xfce4 command should not have an & after it.
Then re-launch the VNC server (you will have to do this after every reboot):
vncserver -localhost no -geometry 1024x768 -cleanstale :1
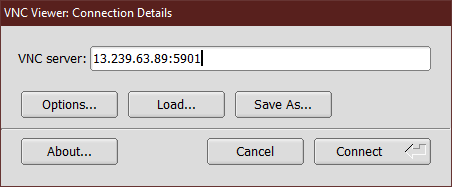
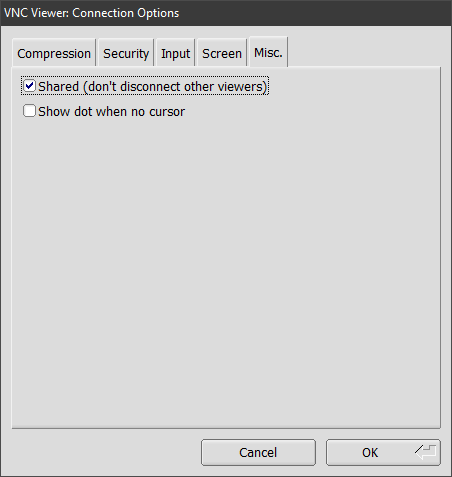
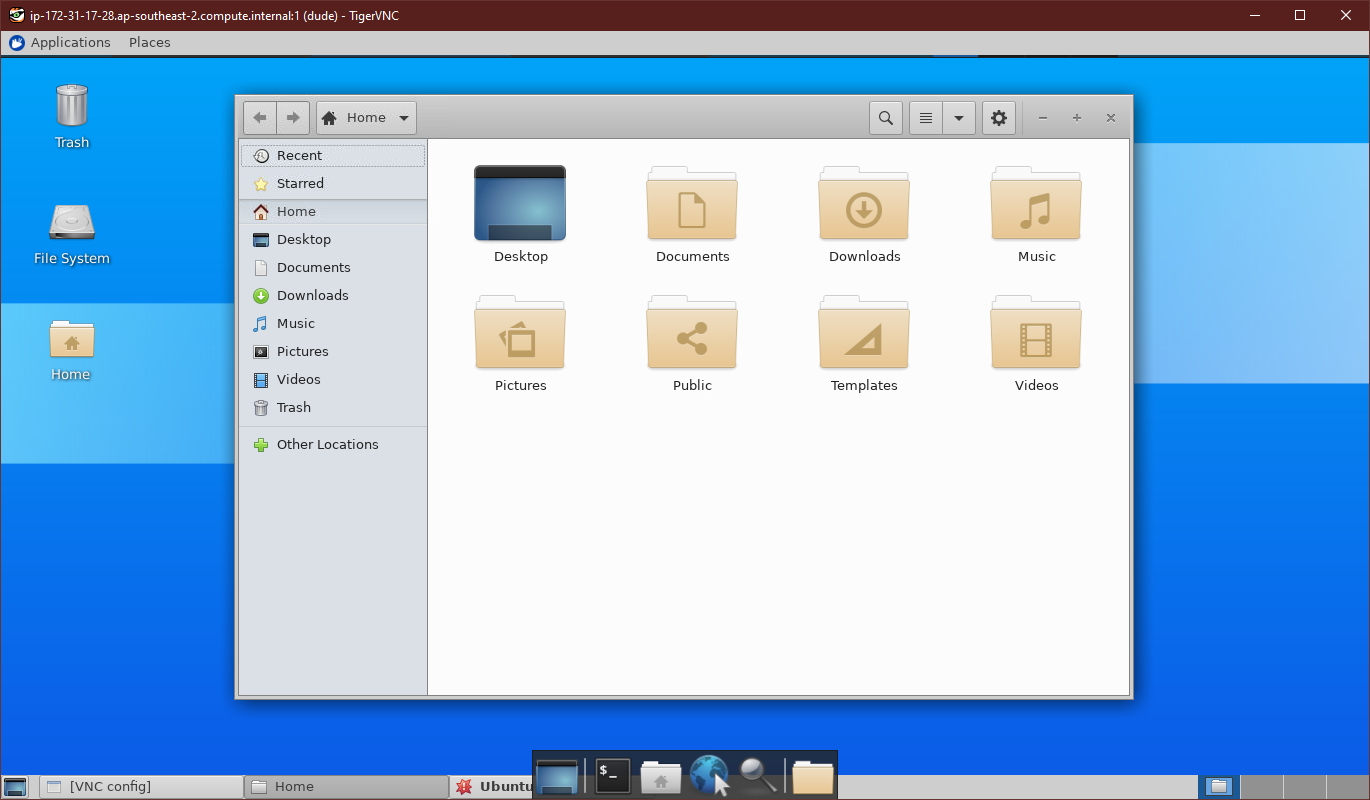
And finally, try to connect to it using TigerVNC Viewer, using the EC2 instance IP address and port numbre 5901. I tick the box for Shared in the VNC viewer options, since I plan to share the instance with my friend.
Success!
If you have any trouble, add the -fg option when using the vncserver command to run the process in the foreground instead of the background.
Step 4: Install Dwarf Fortress
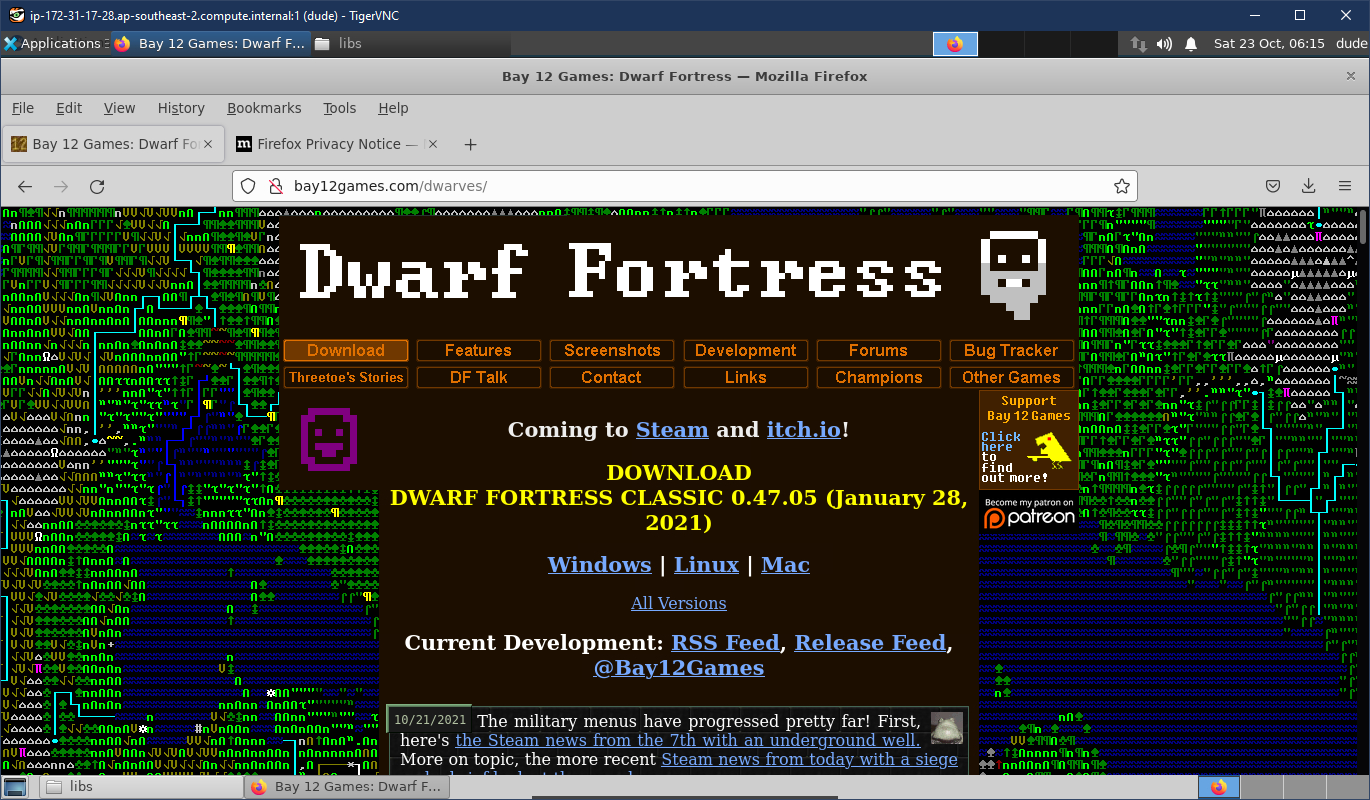
Since this is a full desktop in the cloud, I can just open the web browser and install Dwarf Fortress.
But Dwarf Fortress on Linux needs a couple extra steps to run. First, the following packages need to be installed:
sudo apt install libsdl1.2debian libsdl-image1.2 libsdl-ttf2.0-0 libopenal1 libsndfile1 libncursesw5 libcanberra-gtk-module
And finally, you need to delete (or rename) Dwarf Fortress's libs/libstdc++.so.6, and now it runs! Hooray! I'm now able to share-screen Dwarf Fortress with my friend (albeit, without sound).
Step 5 (optional): Create a Systemd Service
If you want to have the VNC server start automatically when you start the virtual computer instance, you should create a systemd service for it. To do so, create the file /etc/systemd/system/vncserver@.service and give it the following content:
[Unit]Description=Start VNC serverAfter=syslog.target network.target[Service]# Type=simple requires adding the -fg option# otherwise use Type=ForkingType=simpleUser=usernameGroup=usernameWorkingDirectory=/home/usernamePIDFile=/home/username/.vnc/%H:%i.pid# Note: starting a command with "-" means that failure is allowedExecStartPre=-/usr/bin/vncserver -kill :%i > /dev/null 2>&1ExecStart=/usr/bin/vncserver -localhost no -geometry 1024x768 -cleanstale -fg :%iExecStop=/usr/bin/vncserver -kill :%i[Install]WantedBy=multi-user.target
Then enable and start the service with the following commands:
sudo systemctl daemon-reloadsudo systemctl enable vncserver@1.servicesudo systemctl start vncserver@1systemctl status vncserver@1
Check that the info printed by the systemctl status vncserver@1 command reads Active: active (running) and then test your VNC connection. You should now be able to reboot and reconnect without manually re-running the vncserver command.
Done!
 Dr. Christopher C. Hall | plantabyte.net